DIY Deer Silhouette
Hey guys!
It has been a long time since I have shared a DIY project with you and since it's the holiday season I have been making a few things for gifts. Since I know for certain the person I made this deer silhouette for doesn't read my blog I feel safe sharing this with you! Overall this is a easy project and you can put any image on the board or canvas you want.
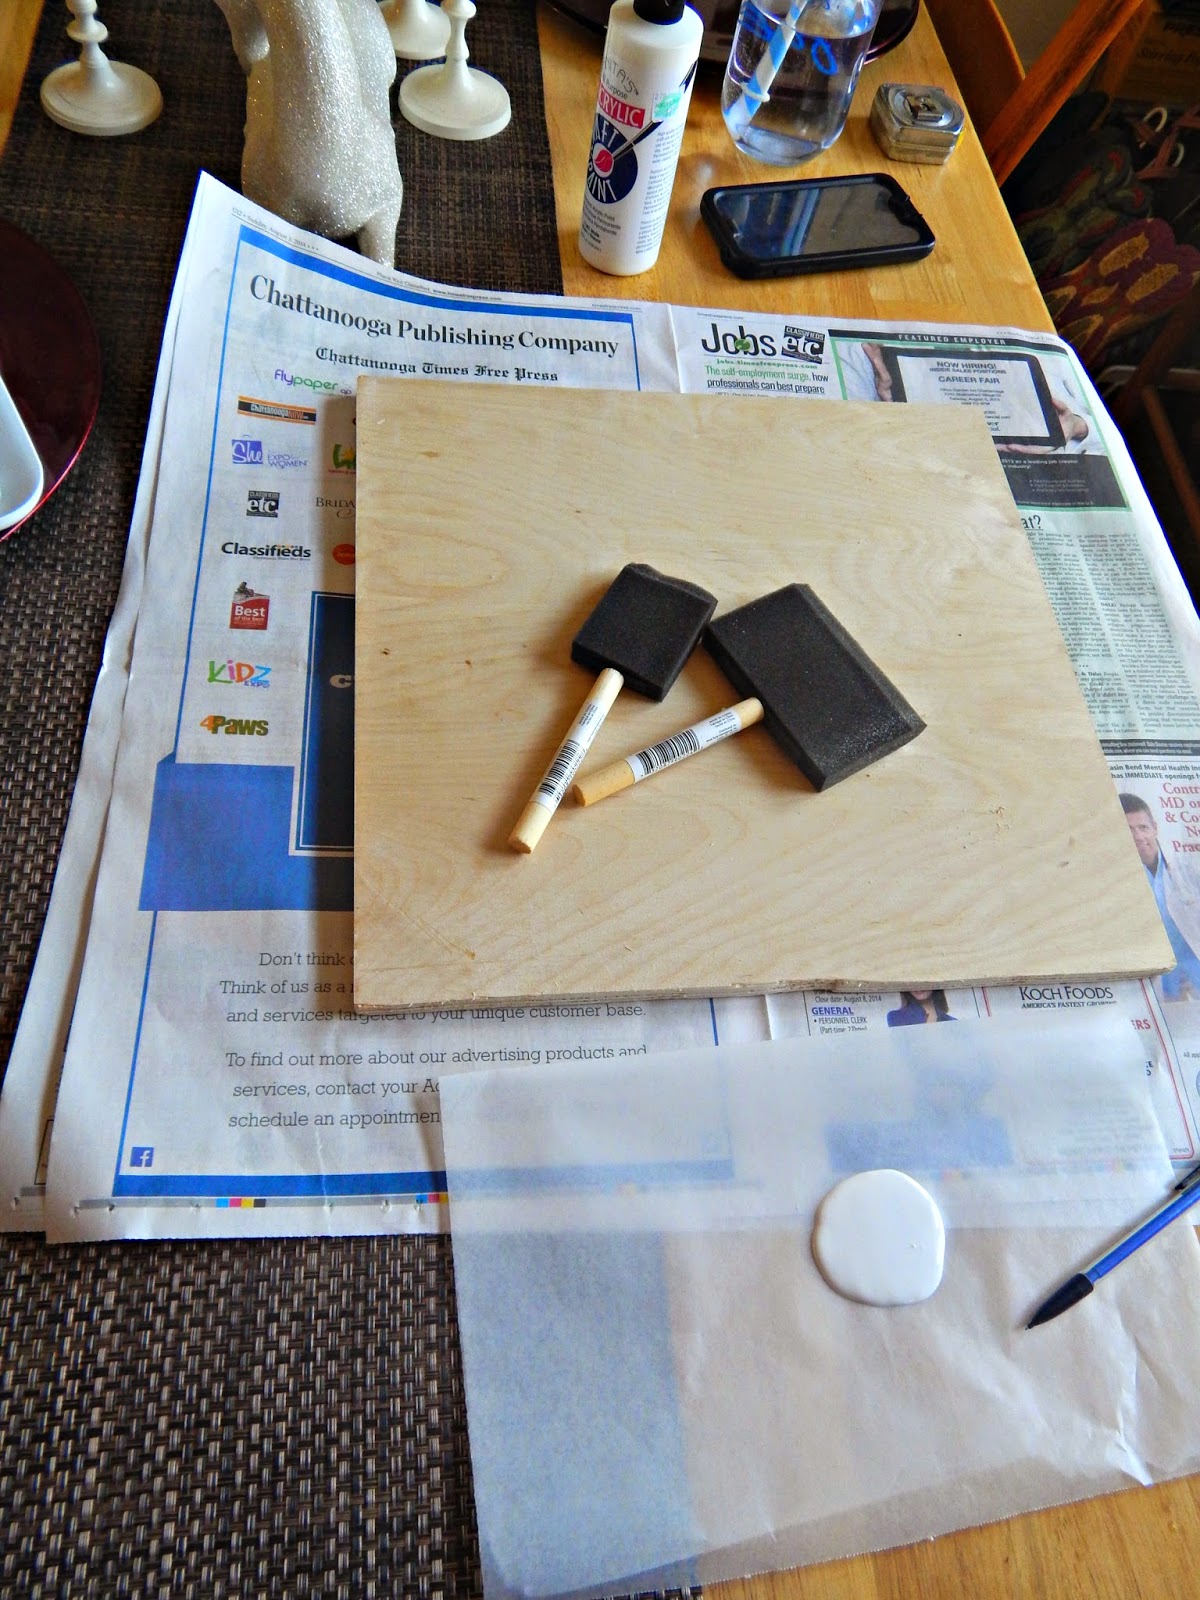
So let's go ahead and get started. I used a board I found laying around that was roughly 14 inches wide. I went ahead and cut the board into a 14 inch long section so I had a square piece of wood. My board was actually plywood so it splintered easily but a little sanding on the edges before painting took care of the splinters.
My next step was finding a deer silhouette I liked and printed it out. After I printed it out I painted a first layer on the board of white. While the paint is drying flip your printed silhouette over and trace the outline of the image and color in any details with a pencil. The easiest way I found to do this is place the image on a window and trace.
Once the paint is dry place the image on the board traced side down where you want it on the board. To transfer the image onto the board take your pencil and rub on the printed side of your image and along any details that need to be transferred.
My next step was to carefully paint around the edges of the image with a smaller paint brush. For the black paint I used leftover chalkboard paint I had around the house.
After I had the outline painted out far enough that I didn't have to worry about being messy I took a larger brush and painted the rest of the background. I did two coats of the black chalkboard paint to make it opaque before I went in with white paint and did two coats on the actual deer. Once the white paint dried I used a tiny detail brush to clean up the edges with the black paint.
My last step was to paint the edges black and let the entire piece dry. After drying overnight I went ahead and wrapped it up, so I will share the finished piece on my Instagram after it is unwrapped and placed somewhere. The below picture is of the finished piece before I wrapped it.


0 comments